01Get the chef in the room
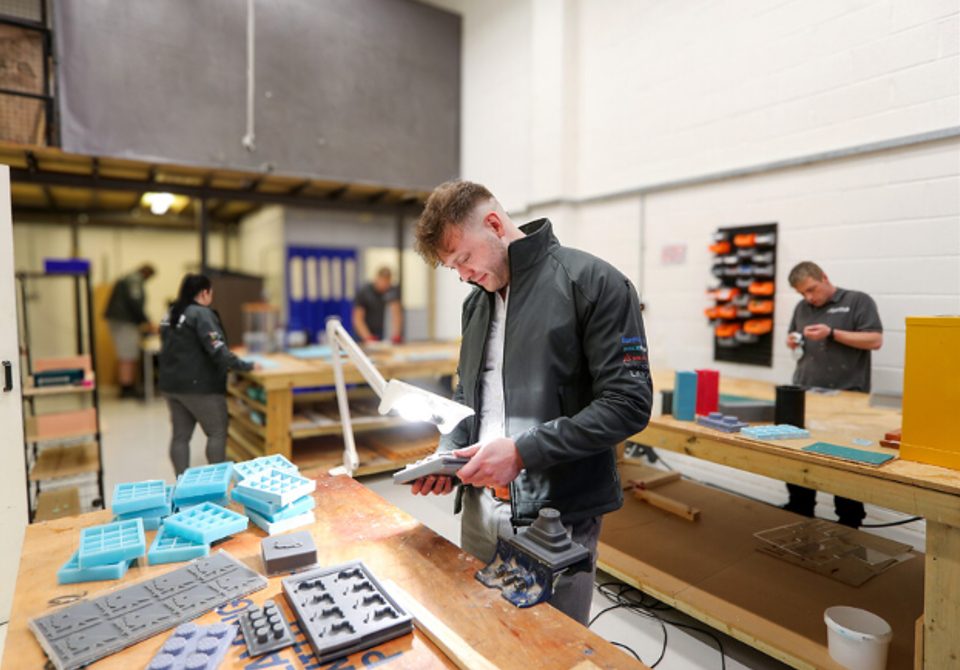
The single biggest thing that goes wrong in mould design is that the mould maker never speaks to the chef. Sign-off comes back through a purchasing office, an intent gets lost in translation, and the tool arrives wrong. Get the chef on the call, or better, in the workshop.
02Bring the sketch, the sample, or the plate
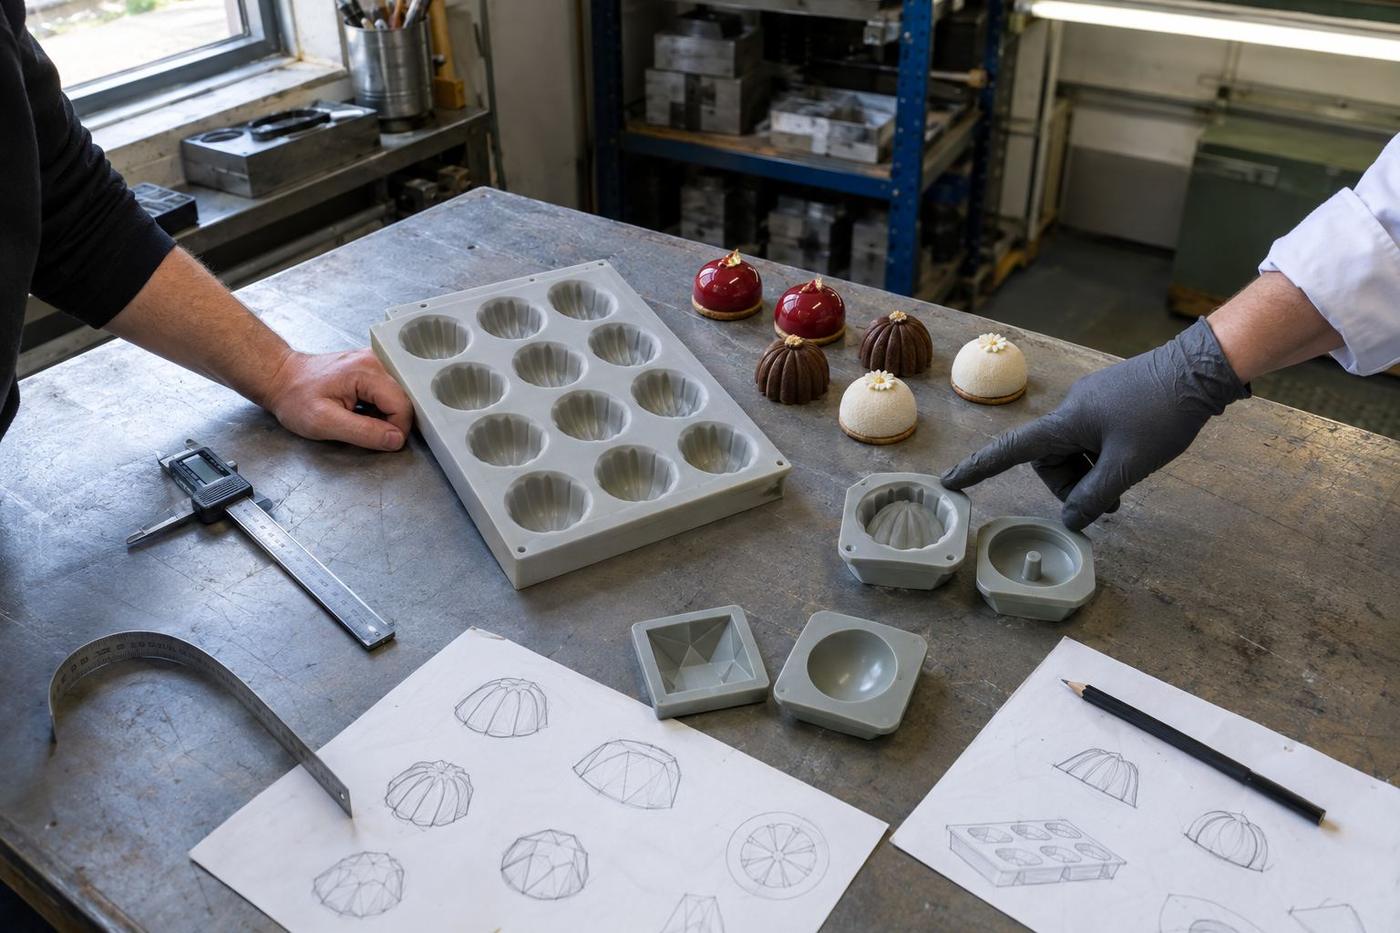
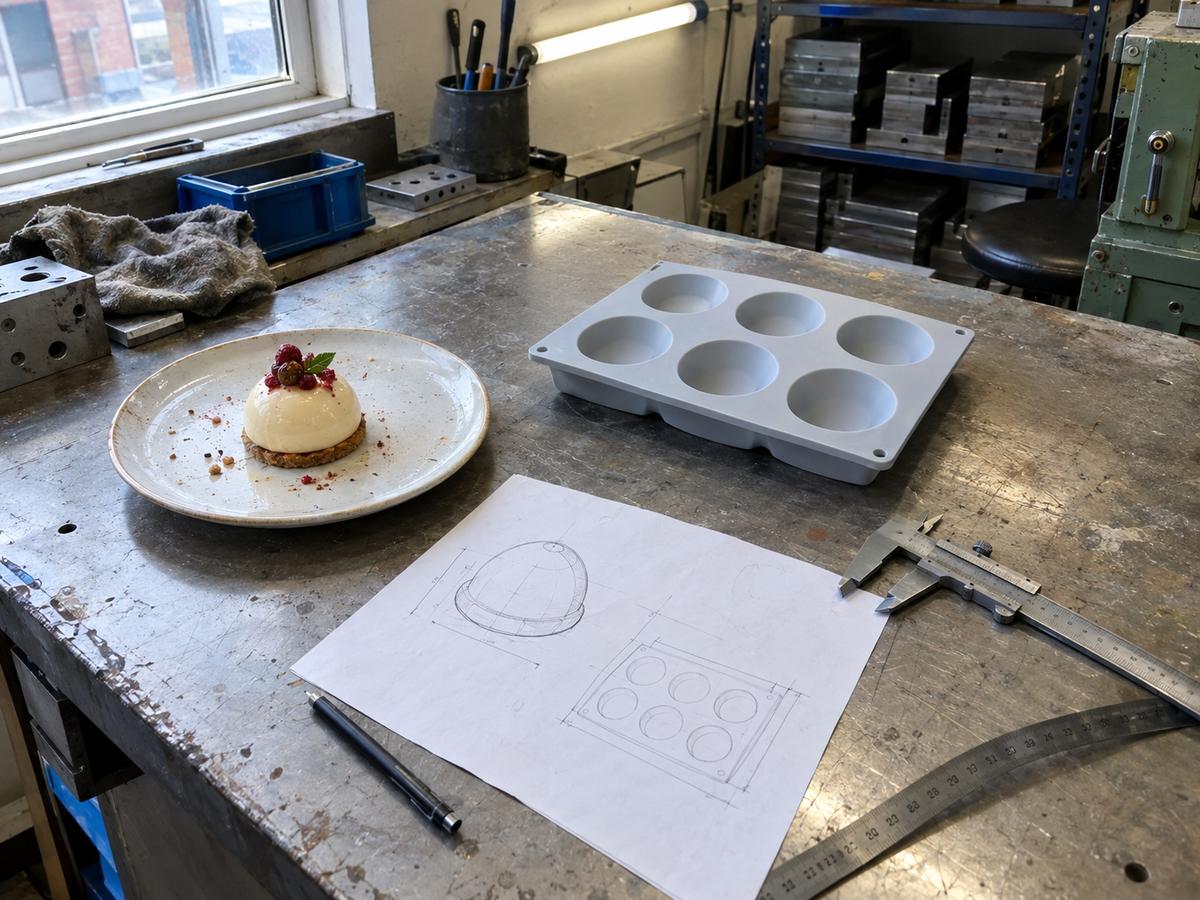
A sketch on a napkin, a wax model, or a plated version of the finished dessert — any of these is a good starting point. Words alone are the slowest way to start. We'll go from any physical starting point faster than from a description.
03Describe the demould motion in verbs
Do you flip, tap, invert, or peel? Describe it in action verbs. The demould motion drives the silicone hardness we spec, and getting it right at design stage saves a re-tool.
04Talk about what's next to the mould in service
Where does the dessert go after demoulding? Onto a glazing rack, straight to a plate, into packaging? The next step affects mould height, cavity spacing, and top-edge profile. Tell us the service context.
05Expect a proof cavity before a full tray
For a bespoke or high-detail design, we usually build a single proof cavity first, sign off with the chef, then scale to a full tray. That extra step catches ninety percent of "that's not quite what I meant" before we've built ten cavities of it.
06Retain the design conversation on file
Notes from the design conversation stay on file with the drawing. So if you reorder in a year, or extend the tooling, we're not starting from scratch with a new set of assumptions.